Using LLMs for Reverse Engineering and Malware Analysis
Continuing my journey in reverse engineering and malware analysis—I covered this in My Beginnings with Assembly and Getting Familiar with Ghidra—I've been exploring how large language models (LLMs) can accelerate and enhance tasks like sample analysis and decompilation.
LLM4Decompile, a project by Hanzhuo Tan, Qi Luo, Jing Li, and Yuqun Zhang, which uses LLMs specifically trained to decompile binary code back into readable source—going beyond general-purpose tools like Ghidra.
LLM4Decompile is powered by models ranging from 1.3B to 33B parameters. Two versions stand out:
LLM4Decompile‑End: Decompiles binary directly. (This is the one we’ll be testing with in this post.)
LLM4Decompile‑Ref: Refines Ghidra’s output
Why Use an LLM in Malware Analysis?
Traditional reverse engineering, especially malware unpacking or obfuscated code,can be tedious. LLMs can offer a different angle:
Semantic understanding of assembly
Cleaner, human-readable C code
Faster triage and snippet-level summaries
I’d like to explore how using LLMs along with tools like Ghidra can provide faster analysis results during investigations.
Instance Setup
For this testing, I used an AWS EC2 GPU instance configured as follows:
AMI: Deep Learning OSS Nvidia Driver AMI GPU PyTorch 2.6.0 (Ubuntu 22.04)
Operating System: Ubuntu 22.04
Instance Type:
g4dn.xlargeVolume Size: 150GB
Access: EC2 Instance Connect (SSH would also work fine)
💡 Note: GPU acceleration is recommended. You can see cost details in the screenshots I saved—I made sure to shut the instance down right after collecting results to minimize charges.
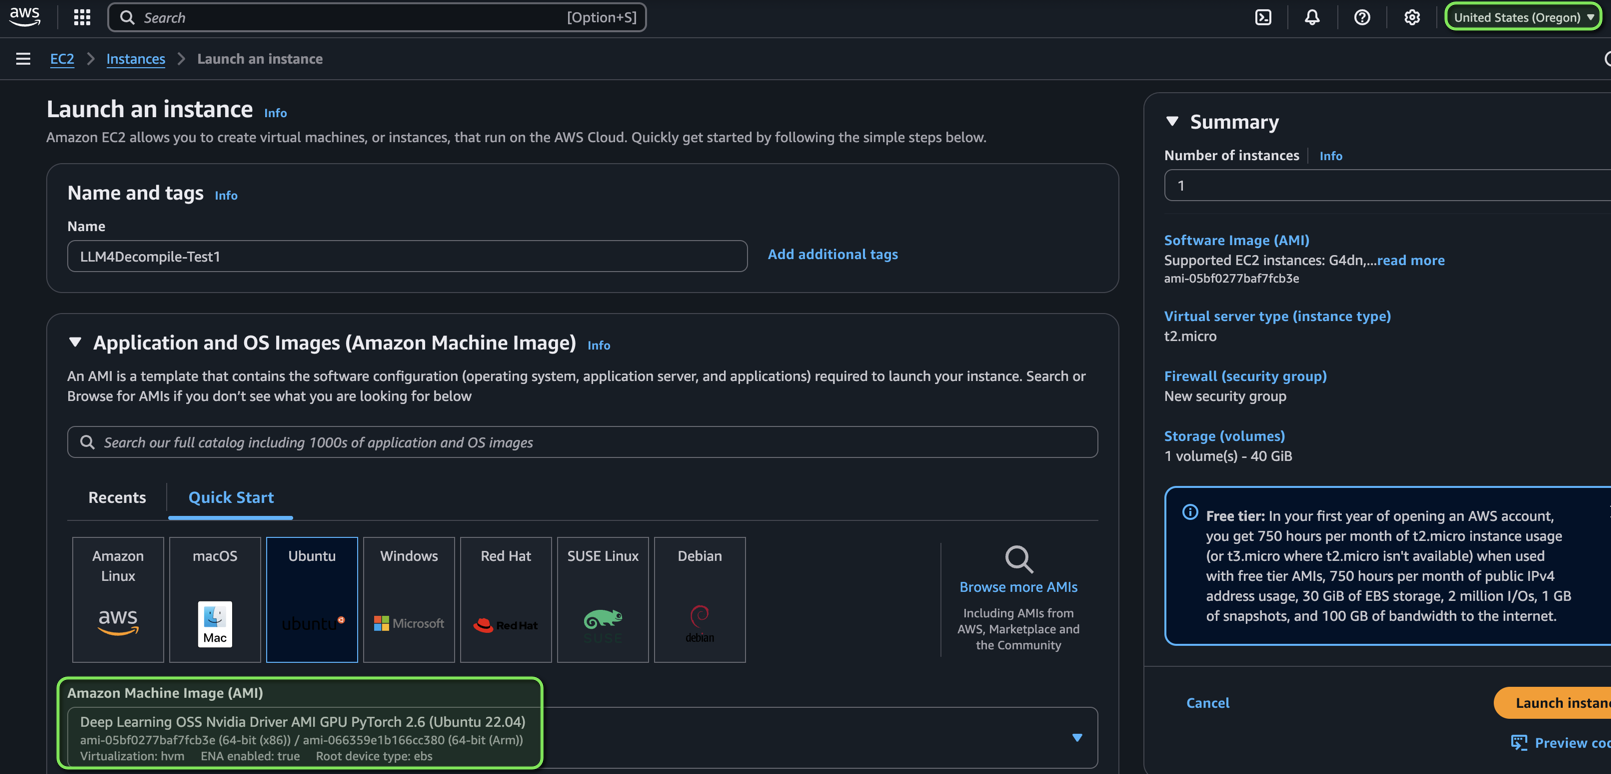
EC2 Launch Instance Page
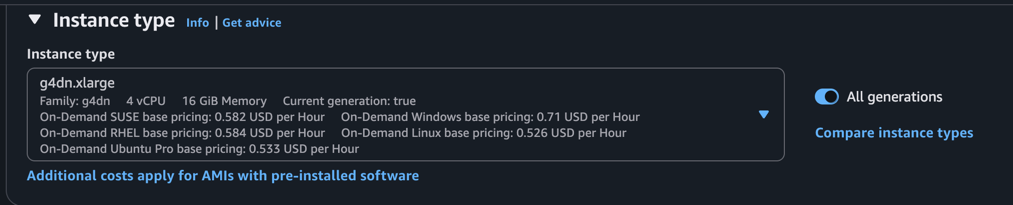
EC2 Instance Type Used
Setting Up the Environment
Now that the instance is ready to go, it’s time to set up the environment for our testing. First, I’ve created some setup files and placed them in my repository: https://github.com/hackersifu/blog-code/tree/main/LLM4Decompile-Testing. We will need these later to install the packages as well as run our compilation and decompilation.
Next, we’ll install conda. Conda is an open-source package and environment manager that lets you create isolated Python environments with all the dependencies you need.
The conda_install.sh script will enable us to get started with conda:
# Download Miniconda installer
wget https://repo.anaconda.com/miniconda/Miniconda3-latest-Linux-x86_64.sh

# Run installer
bash Miniconda3-latest-Linux-x86_64.sh

# Follow the prompts (press Enter to accept defaults)

# Reload shell
source ~/.bashrc

# Test
conda --version

Conda - Installation Output

Conda - Successful Install
Next up, we’ll use conda to activate our environment for LLM4Decompile, using the following commands:
conda create -n llm4decompile python=3.10 -y
conda init
conda activate llm4decompile
pip install -r requirements.txt # This file is in the blog-code repo from earlier
Conda - Installing packages in activated environment
The final step is to prepare our sample. I have one contained in the samples/sample.c directory within the blog-code repository:
int sum_positive(int* arr, int size) {
    int sum = 0;
    for (int i = 0; i < size; i++) {
        if (arr[i] > 0) {
            sum += arr[i];
        }
    }
    return sum;
}

int main() {
    int values[] = {1, -2, 3, 4};
    return sum_positive(values, 4);
}
This sample, in it’s current form, is not compiled. We’re going to perform that compilation with the following python script (compile.py within the blog-code repository):
import subprocess
import os

func_name = 'func0'
OPT = ["O0", "O1", "O2", "O3"]
fileName = 'samples/sample'

for opt_state in OPT:
    output_file = fileName + '_' + opt_state
    input_file = fileName + '.c'

    compile_command = f'gcc -c -o {output_file}.o {input_file} -{opt_state} -lm'
    subprocess.run(compile_command, shell=True, check=True)

    disasm_command = f'objdump -d {output_file}.o > {output_file}.s'
    subprocess.run(disasm_command, shell=True, check=True)

    with open(output_file + '.s') as f:
        asm = f.read()
        if f'<{func_name}>:' not in asm:
            raise ValueError("Function not found in disassembled output")
        asm = '<' + func_name + '>:' + asm.split(f'<{func_name}>:')[-1].split('\n\n')[0]

        # Clean assembly
        asm_clean = ""
        for line in asm.splitlines():
            if len(line.split("\t")) < 3 and '00' in line:
                continue
            idx = min(len(line.split("\t")) - 1, 2)
            tmp_asm = "\t".join(line.split("\t")[idx:])
            tmp_asm = tmp_asm.split("#")[0].strip()
            asm_clean += tmp_asm + "\n"

    input_asm_prompt = "# This is the assembly code:\n" + asm_clean.strip() + "\n# What is the source code?\n"

    with open(output_file + '.asm', 'w', encoding='utf-8') as f:
        f.write(input_asm_prompt)
We can see the compiled code within the samples folder:

Compiled C sample code
Our test environment is set up! We’re ready to test out LLM4Decompile and see what we can do to decompile our code.
Running the Model
With our environment set up, we’re ready to decompile.
I created a script (load_model.py) to perform the decompilation. Some of the steps it takes:
It loads the LLM4Decompile model from huggingface.co (6.7B model)
It feeds in the cleaned assembly prompt
It generates decompiled C code
from transformers import AutoTokenizer, AutoModelForCausalLM
import torch

model_path = 'LLM4Binary/llm4decompile-6.7b-v1.5'
tokenizer = AutoTokenizer.from_pretrained(model_path)
model = AutoModelForCausalLM.from_pretrained(model_path, torch_dtype=torch.bfloat16).cuda()

with open('samples/sample_O0.asm', 'r') as f:
    asm_func = f.read()

inputs = tokenizer(asm_func, return_tensors="pt").to(model.device)
with torch.no_grad():
    outputs = model.generate(**inputs, max_new_tokens=2048)

c_func_decompile = tokenizer.decode(outputs[0][len(inputs["input_ids"][0]):-1])
print("Decompiled Function:\n", c_func_decompile)
We can run the script using python load_model.py and observe the output. It takes a bit to perform the decompilation:

LLM4 Decompile - Actively decompiling
Once it’s done, we can see the decompiled results within the payload!
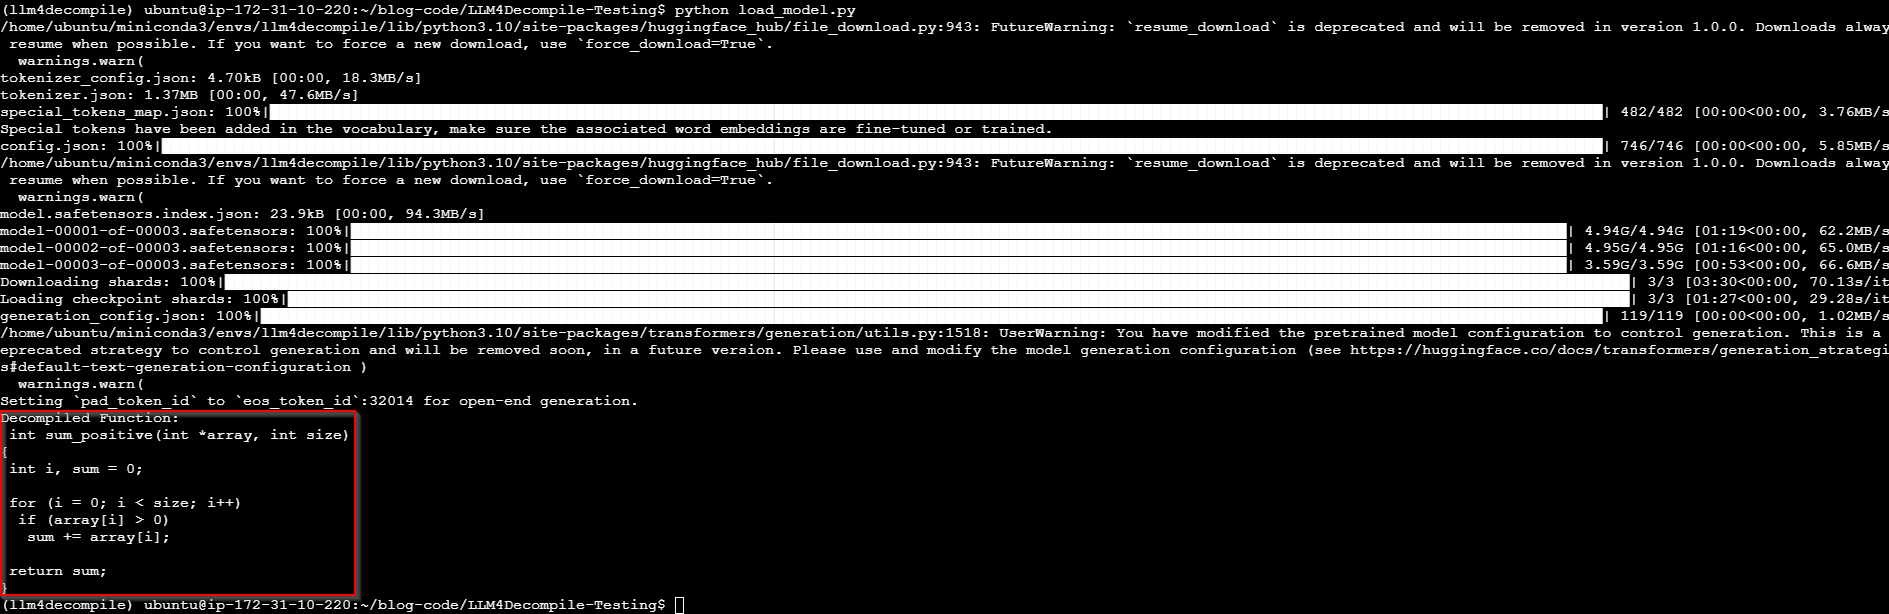
LLM4Decompile - Decompiled results
Final Thoughts
This experiment shows that LLMs like LLM4Decompile can significantly reduce the time required to decompile and analyze binaries, especially for simple functions. This doesn’t fully replace traditional tools like Ghidra, but it does offer a valuable augmentation layer and a preview of where AI tooling is headed.
I’ll be continuing to test this approach with more complex samples and obfuscated binaries to see how it scales in real-world scenarios.
Coming up next:
I’m planning to look into Model Context Protocol (MCP) and explore how it relates to reverse engineering workflows, specifically for performing structured assembly analysis and model chaining.
Stay tuned!
References
Hanzhuo Tan, Qi Luo, Jing Li, & Yuqun Zhang. (2024). LLM4Decompile: Decompiling Binary Code with Large Language Models. arXiv. https://arxiv.org/abs/2403.05286
AI-SCHOLAR. (2024). LLM4Decompile: Large Language Models for Decompilation. https://ai-scholar.tech/en/articles/large-language-models/LLM4Decompile
Papers with Code. (2024). Decompile Ghidra 100K Dataset. https://paperswithcode.com/dataset/decompile-ghidra-100k
Albertan017. (2024). LLM4Decompile [GitHub repository]. https://github.com/albertan017/LLM4Decompile
ACL Anthology. (2024). LLM4Decompile Paper. https://aclanthology.org/2024.emnlp-main.203/
YouTube. (2024). LLM4Decompile Presentation. https://www.youtube.com/watch?v=x7knF3Z1yLk