Connecting Home IoT devices with a Cellular Router
I recently took on a weekend project at a rental property I own to set up a few critical IoT devices. These devices need to stay online at all times—even when no tenant is living there—to maintain functionality and receive updates. Specifically:
Solar monitor – Used to track solar production in real time, receive performance alerts, and install firmware updates.
Tesla Wall Connector – Primarily to ensure it stays firmware‑current and ready for future tenants with EVs.
The challenge? Relying on a tenant’s Wi‑Fi is unreliable since the property might sit vacant for extended periods. I needed a solution that:
Delivers constant connectivity, independent of tenant internet.
Supports low bandwidth requirements for periodic data uploads and firmware checks.
Is remotely manageable, so I can monitor usage and troubleshoot without visiting the site.
Plays nicely with IoT constraints, like 2.4 GHz Wi‑Fi, captive‑portal bypass, and consistent uptime.
In short, I needed a simple, hands‑off, plug‑and‑play internet solution that can serve as a dependable network backbone for my smart energy gear.
Parts Overview
The main parts I needed for the project are a cellular data card and a mechanism for the devices to connect. For the mechanism, I picked the Linovision IR302 4G LTE Celluar Router. This router has SIM card slots (2 total), and allows configuration for data connections through cellular. The cellular data card has a simple data plan (any prepaid card would’ve worked), as the total amount of downloaded data for any given month is not estimated to exceed 1GB.
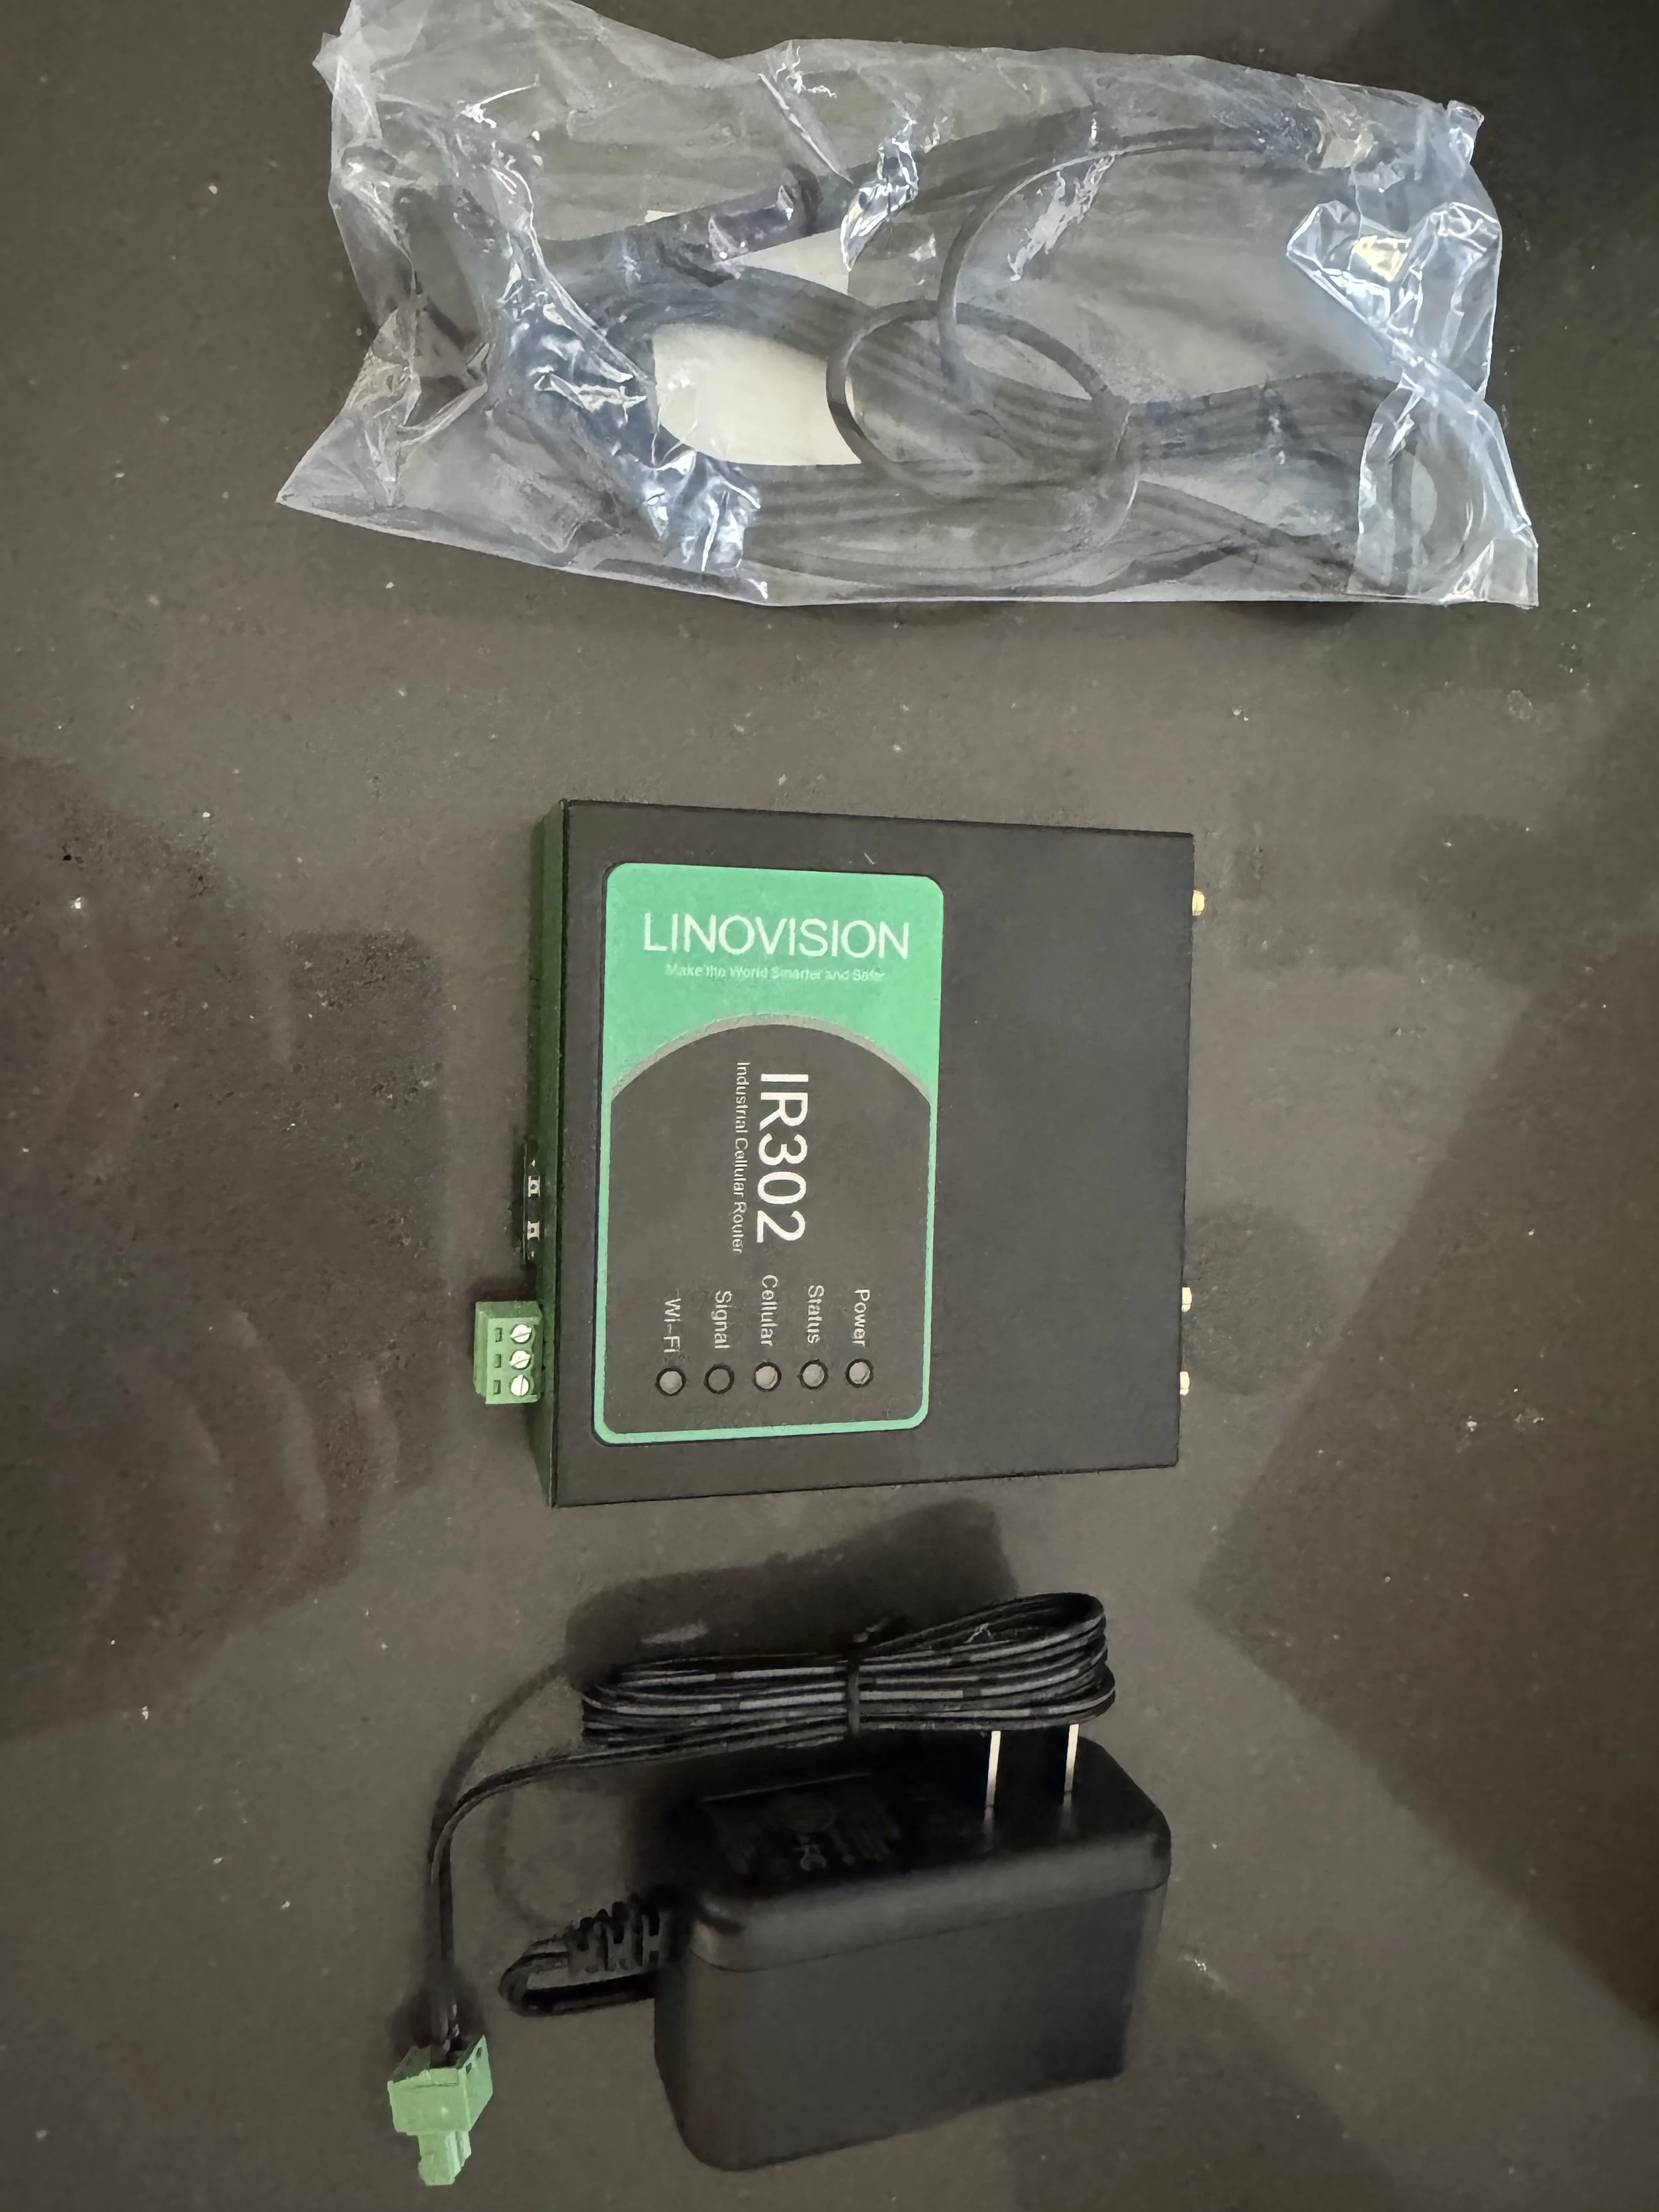
Linovision IR302 Cellular Router
In addition, this device allows for remote monitoring via an online portal, to validate connection status of the cellular router. This is helpful for me as a landlord, as I won’t have access to the property on a regular basis, and need the montioring without the tenant’s interaction.
Setting Up the Cellular Router
Setup of the cellular router was pretty straight forward. It required a laptop with an ethernet cord for the initial setup. The setup instructions are found here: IR302 Setup Guide.
Connect via Ethernet (LAN2) or the router’s default Wi‑Fi AP.
Open
http://192.168.2.1in your browserLog in using the default credentials and immediately set a strong password
Navigate to Network → Cellular (sometimes labeled Dial‑Up).
Enable the cellular dial-up feature, ensure WAN/NAT is active, and input your SIM’s APN (it may do this automatically).
Apply the settings. Within a few moments, the router should register and receive a cellular IP.
In Status → Modem, check cellular signal strength and registration status.
Under Status → Network Connection, confirm the WAN shows an IP via LTE-backed Wi‑Fi.
Use Traffic Statistics to see hourly, daily, and monthly data usage.

IR302 - Cellular Connection

IR302 - Successful Connection Test
Now that the initial setup is done, let’s enable remote monitoring to check the connection status online.
Enabling Monitoring
The real value of this particular device comes when you can check its status remotely, without needing physical access to the property. That’s where InHand Device Manager (aka Device Manager or DM) comes in.
Device Manager is a free cloud-based platform by InHand/Linovision for managing and monitoring IR302 routers and similar IoT devices. It lets you:
See when each router is online or offline
Monitor cellular connection stats (signal strength, IP address, WAN status)
Track data usage over time
Push firmware and configuration updates remotely
Group devices and manage them at scale
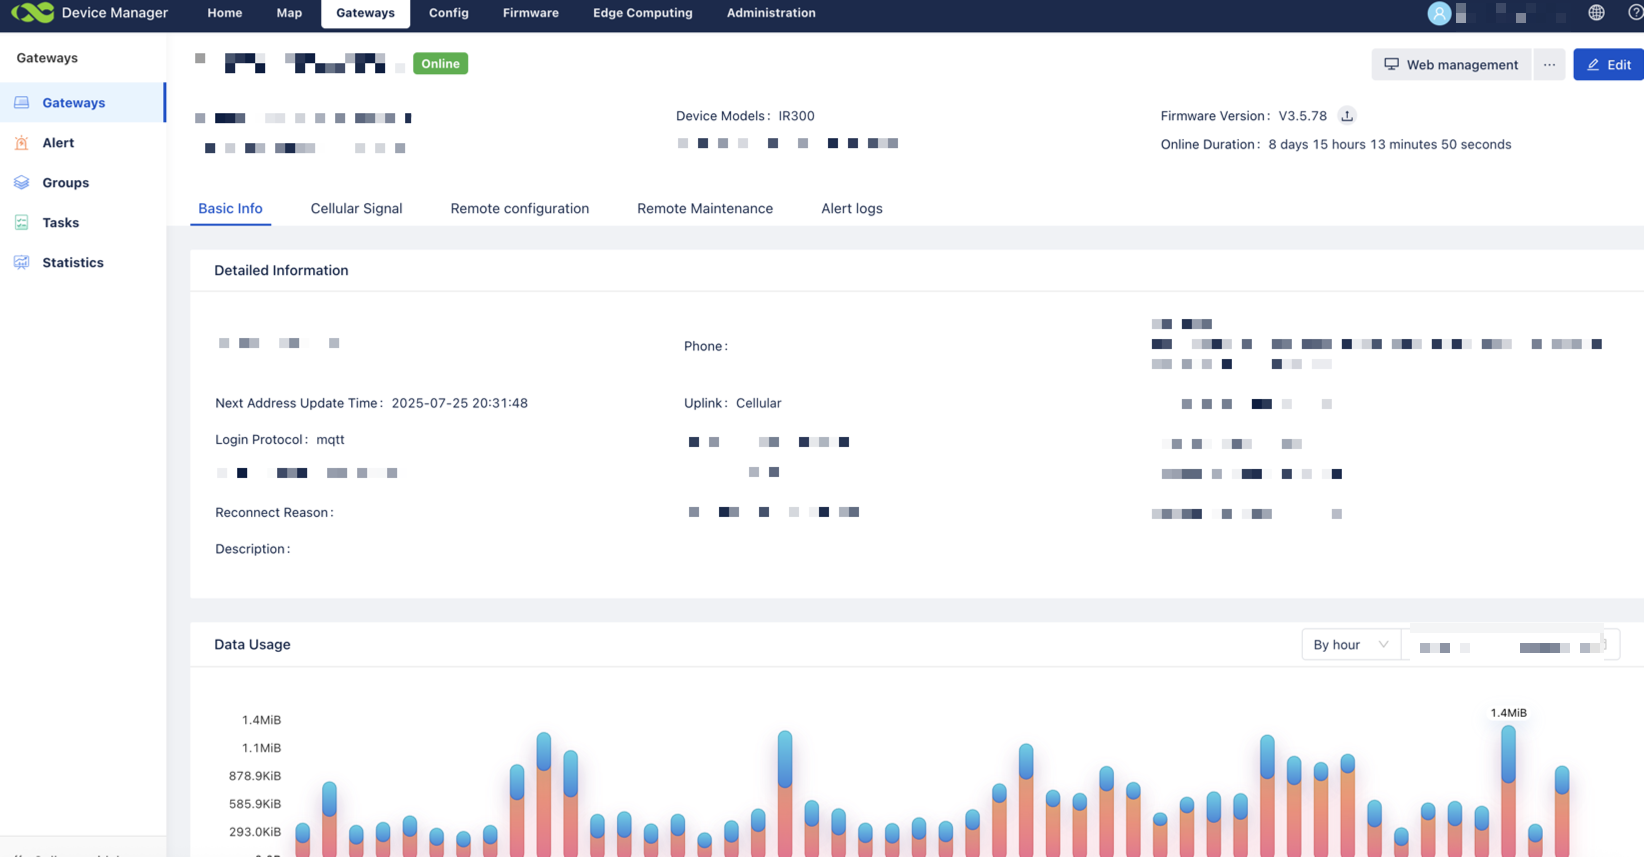
To activate this, first create a Device Manager account at iot.inhandnetworks.com (you’ll need to verify your email). Then, in the IR302’s web console navigate to Service → Device Manager (or Cloud Management). Flip the switch to Enable Device Manager, select the global server address (iot.inhandnetworks.com), and enter the email account associated with your registration. You can also set the upload/reporting interval (I recommend every hour). Click Apply, and shortly after, your router should appear in the cloud dashboard, showing live status and diagnostics.
Once connected, the Device Manager dashboard shows:
Live status: “online”/“offline” indicators for each device
Cellular metrics: signal quality, IP allocation, and uptime
Data consumption logs: hourly, daily, and monthly usage graphs
Alerts and logs: connectivity issues and system health reporting
Device Manager
As a landlord, having this level of oversight means:
I can verify that the IR302 stays connected, without calling tenants or visiting.
Peace of mind knowing the solar monitor and Tesla charger are online and receiving updates.
I can proactively manage firmware or config changes across all properties.
I get usage transparency, helping me catch anomalies or prevent overage issues.
Mounting the Router
Since the devices I need to keep connected are close in proximity to each other, the router can be mounted right next to them for a strong signal.
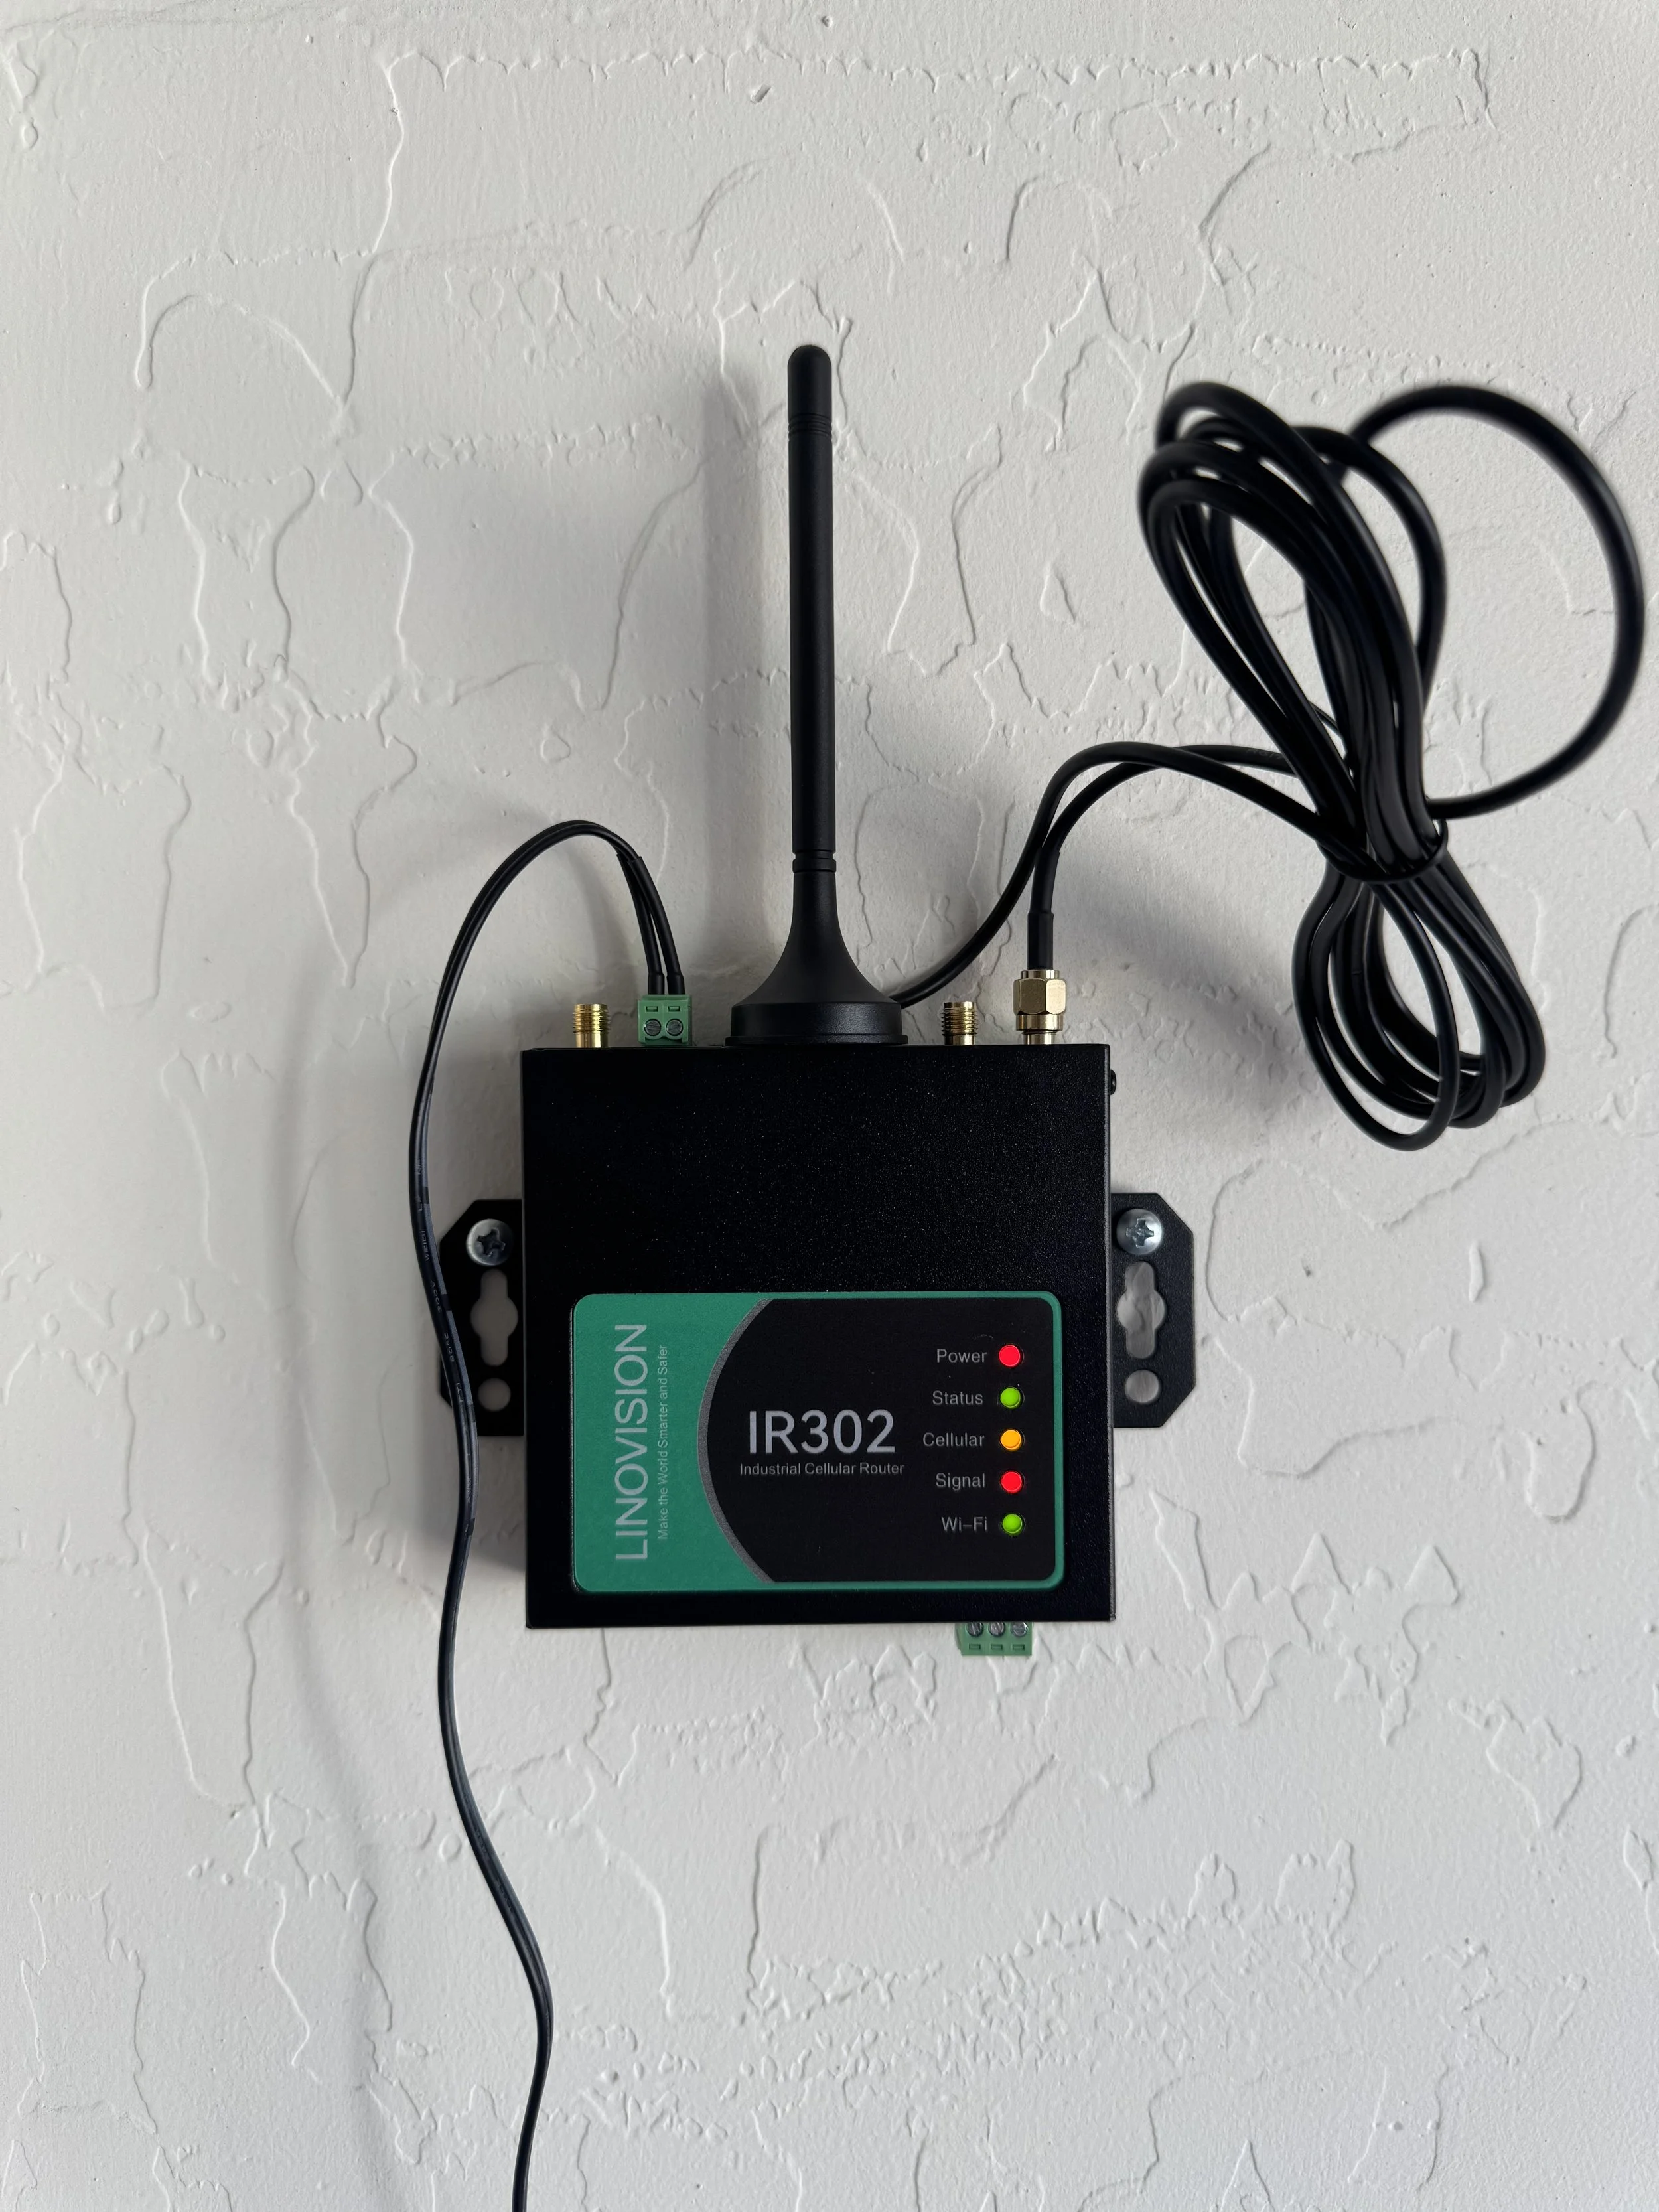
Linovision IR302 - Wall Mounted
Verify & Monitor
After enabling Device Manager, I went into the cloud dashboard to ensure everything was working as intended. After several days, the online device count stayed at 1 with a 100% rate, meaning the IR302 never dropped offline. The data usage graph showed daily transfers of 15–20 MiB, which well within the ~1 GB monthly estimate for my solar monitor and EV charger, and also below the 2GB data limit plan of the SIM card. This confirms the router is correctly bridging over LTE, uploading device data, and staying firmware-current.
The future tenant can now benefit from the devices without personally having the knowledge to connect them on their own.

Device Manager - Data Usage
Conclusion
I built a self‑contained network backbone that keeps solar and EV charging systems online, updated, and remotely accessible, using a 2 GB/month data plan, a cellular router, and cloud-based monitoring. This solution makes it worry free for the future tenant, as well as maintaining visibility while the home is vacant. The setup is plug‑and‑play, secure, and scalable, ideal for property owners managing smart energy infrastructure.
Have you used a similar setup or tried different hardware? I’d love to hear your thoughts or experiences!